
Reports – Cost Centers
Your assignment may include cost centers, and the agency or company may require that these be managed as part of the validation workflow. This must therefore be handled directly within the weekly reports.
Case 1 – A preconfigured cost center
This is the simplest situation: you don’t have to do anything specific. All your clock-ins and hour entries are automatically recorded under the only cost center configured for the assignment.
You can still check this during the report validation step, under the Cost Center field shown in the summary.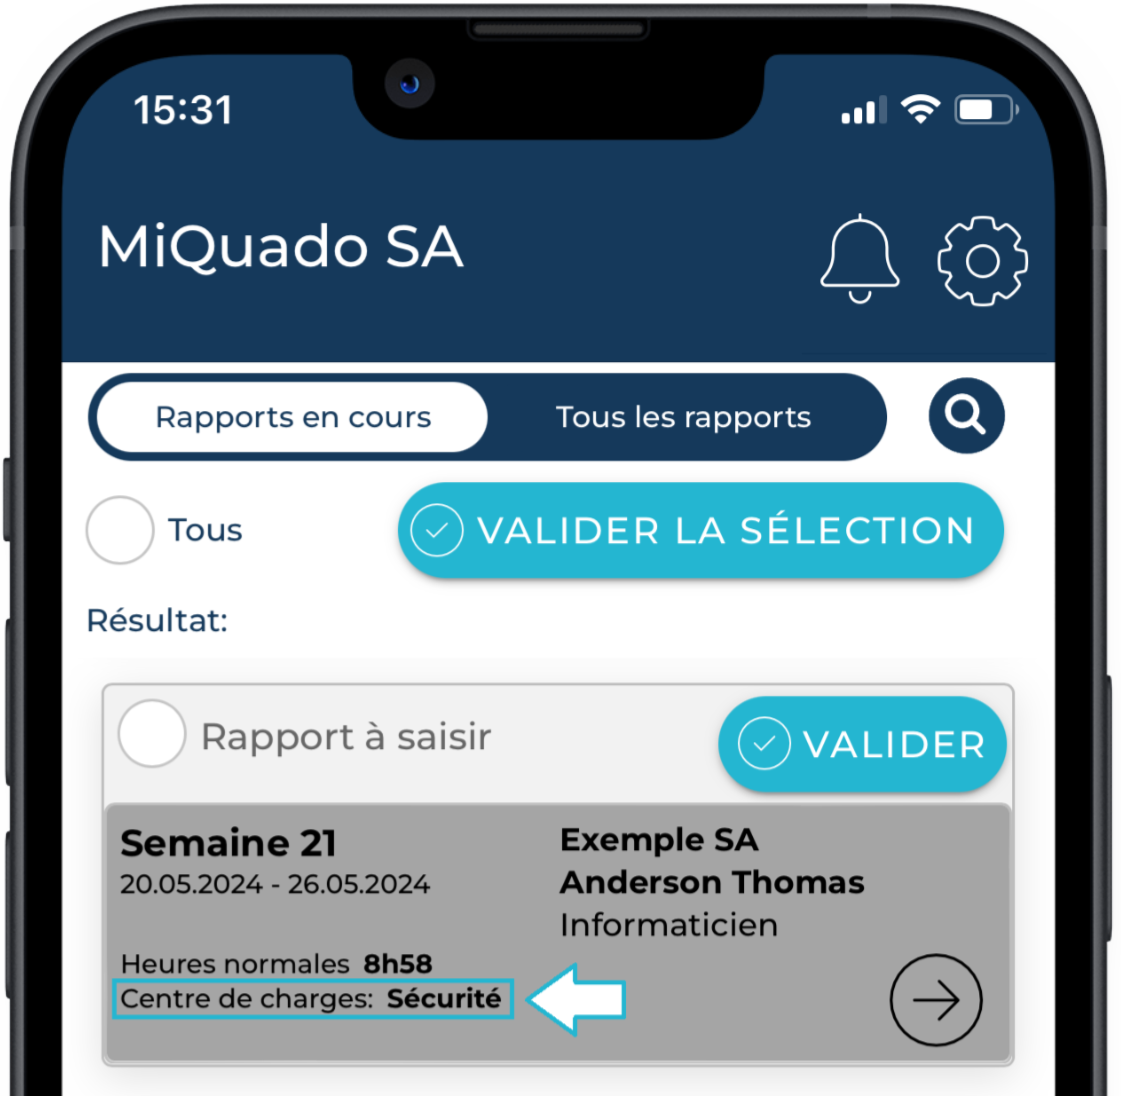
Case 2 – No cost center configured
In this case, you must manually enter the cost center in your weekly report.
To do this:
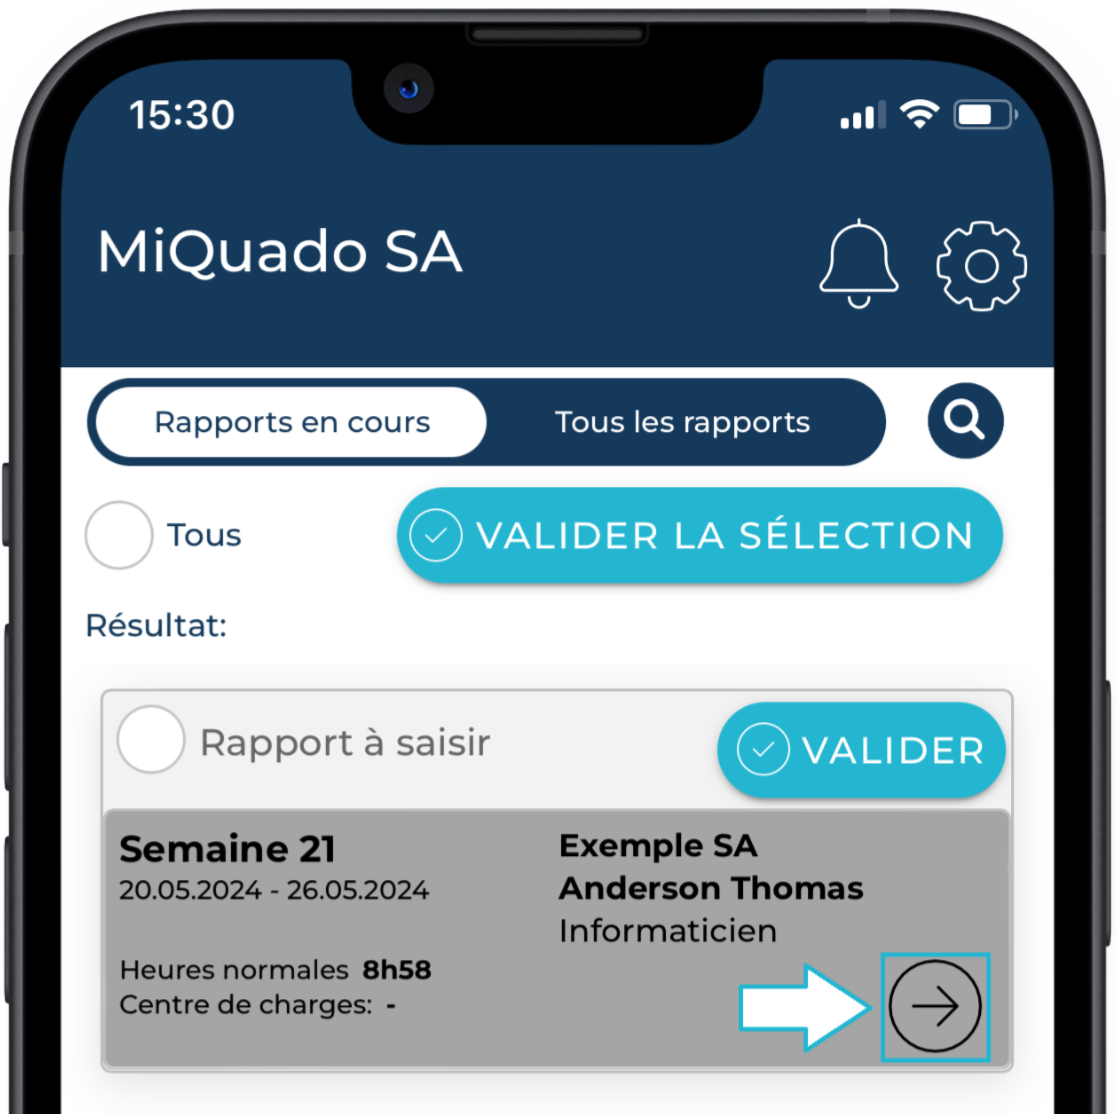
- Go to the Reports page and open the report details using the ARROW button,
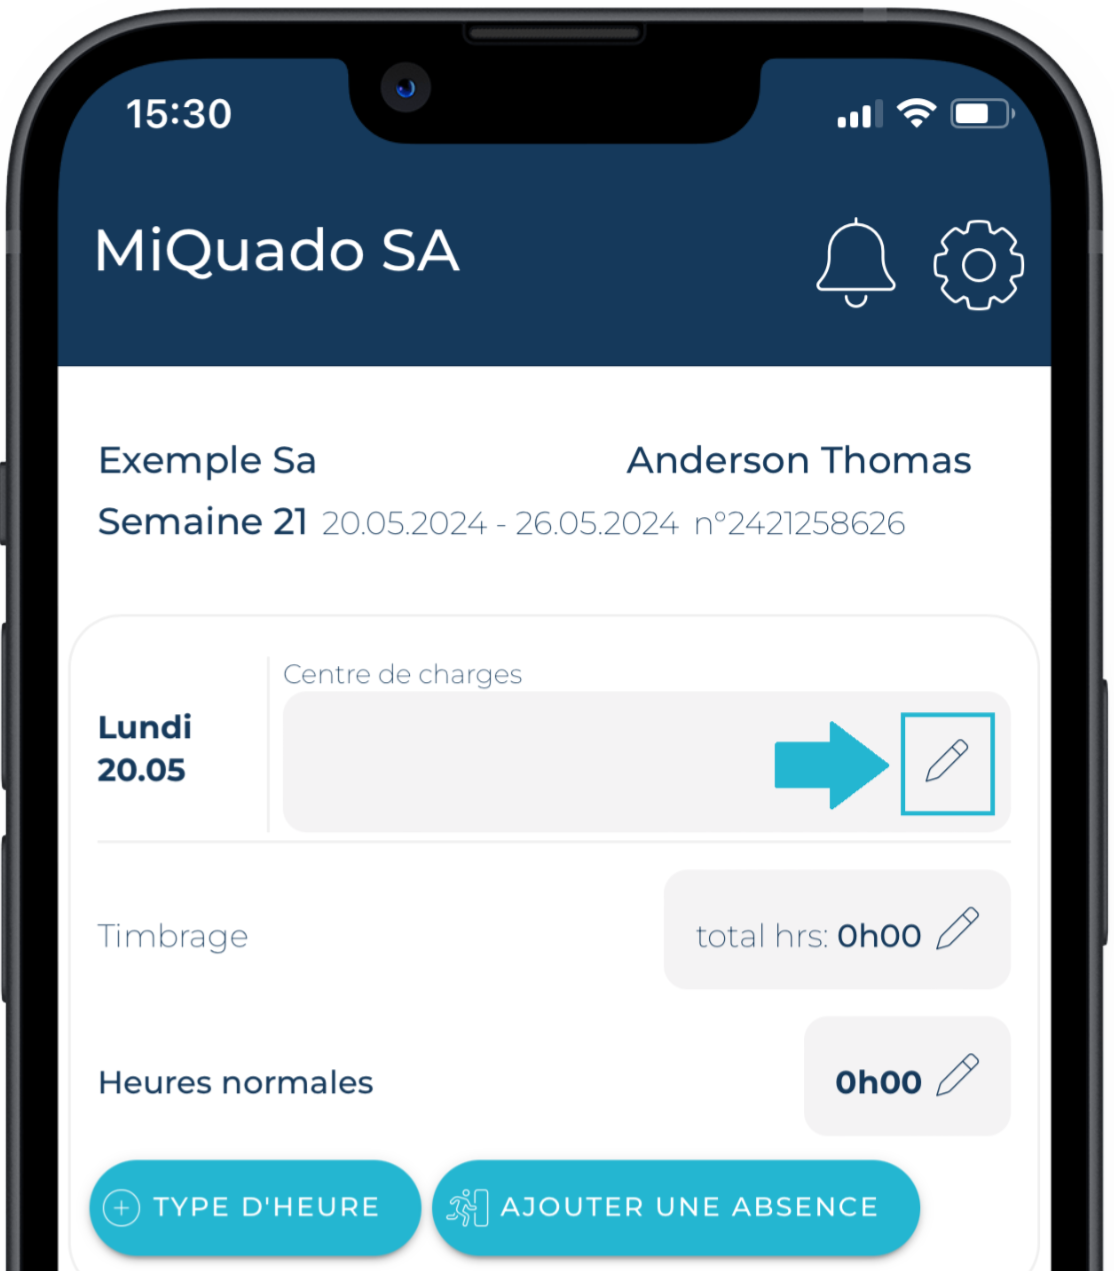
- In the Cost Center field, click the PENCIL button,
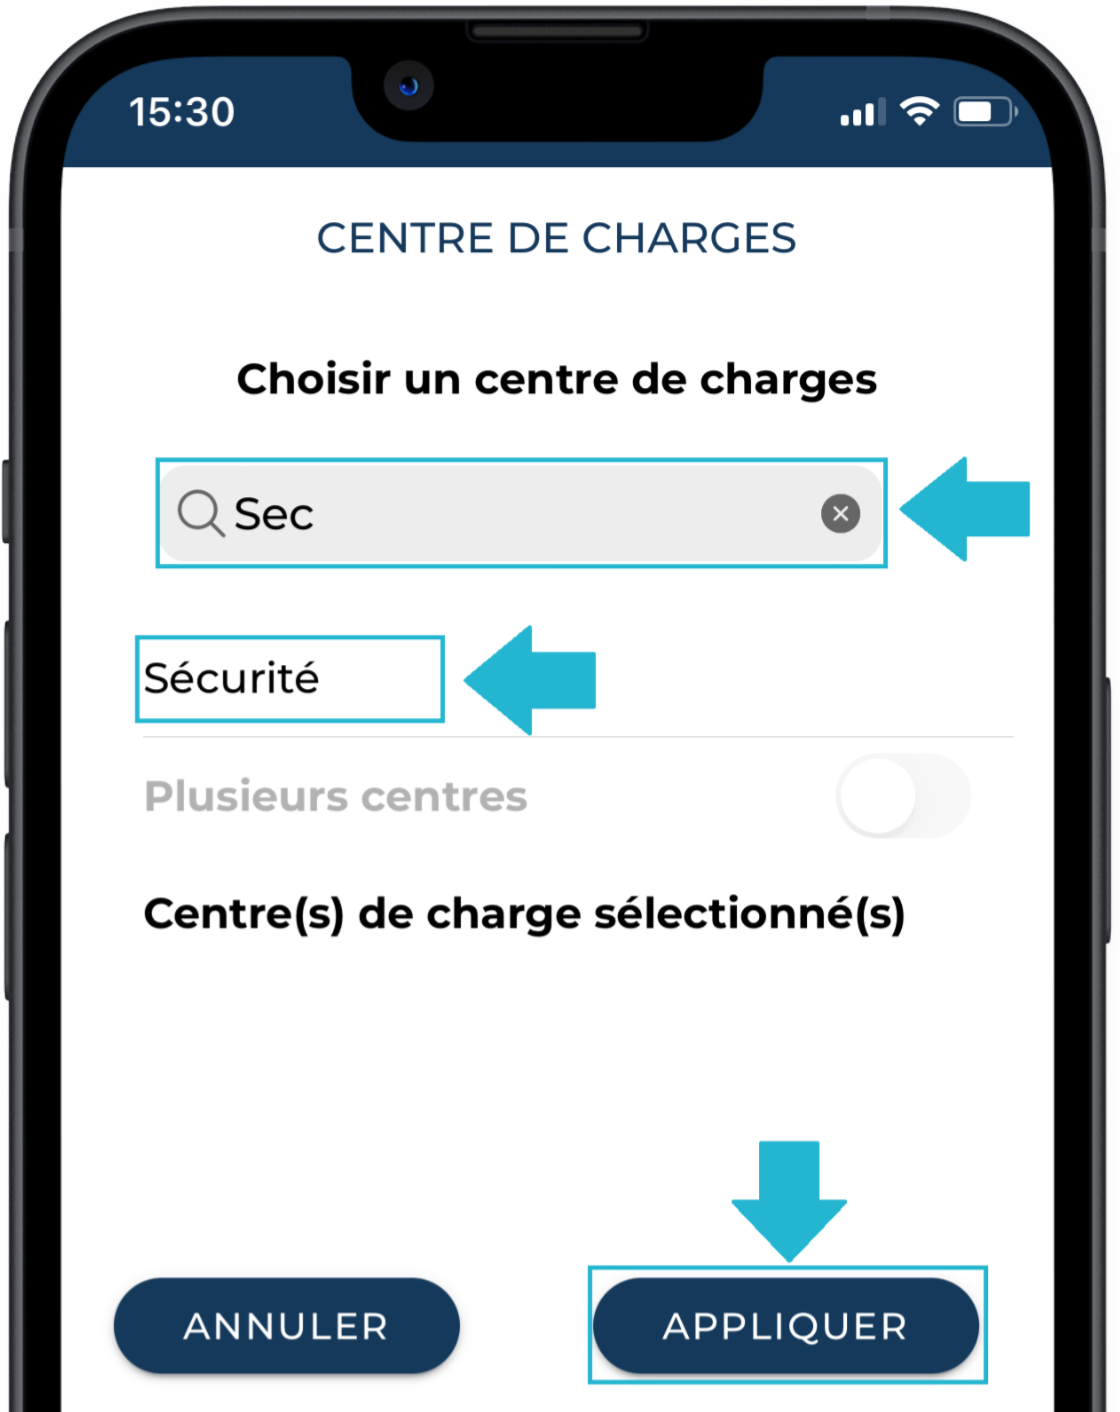
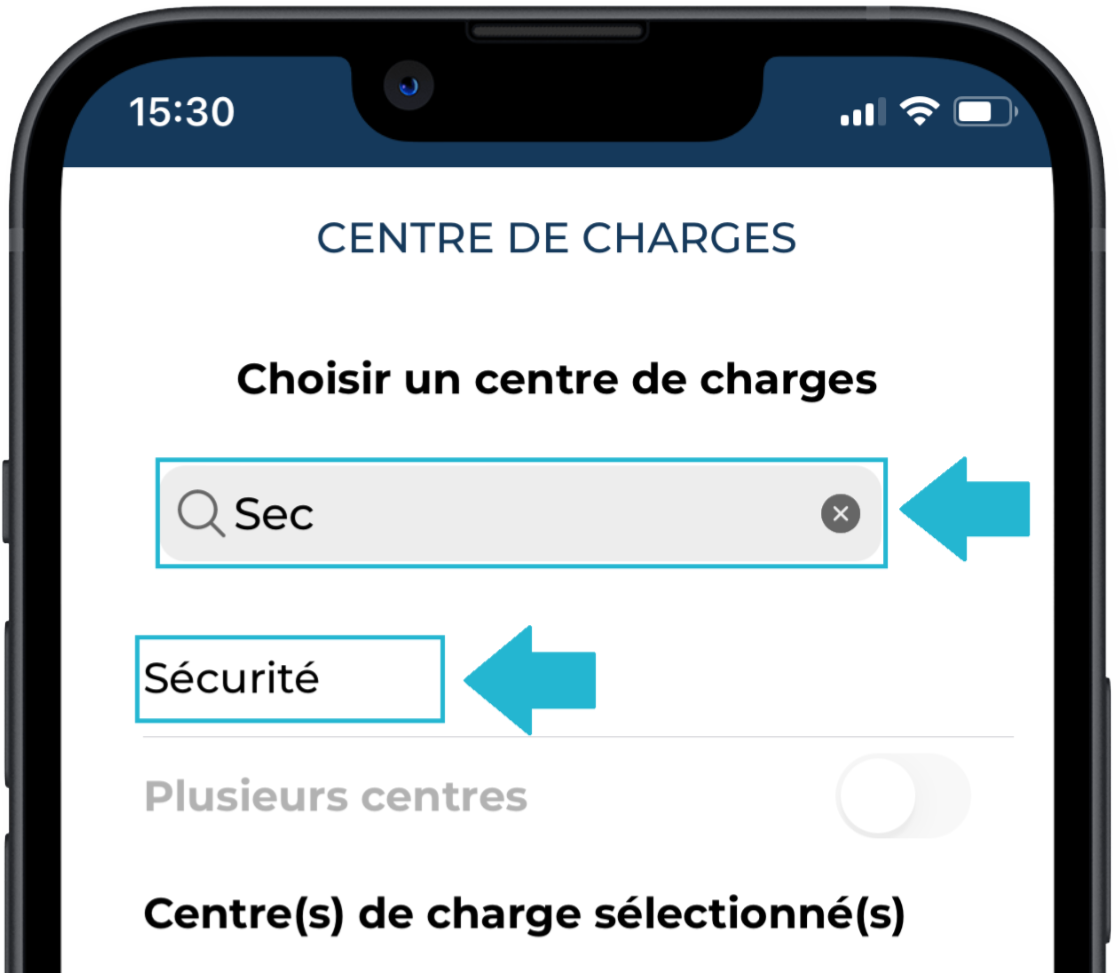
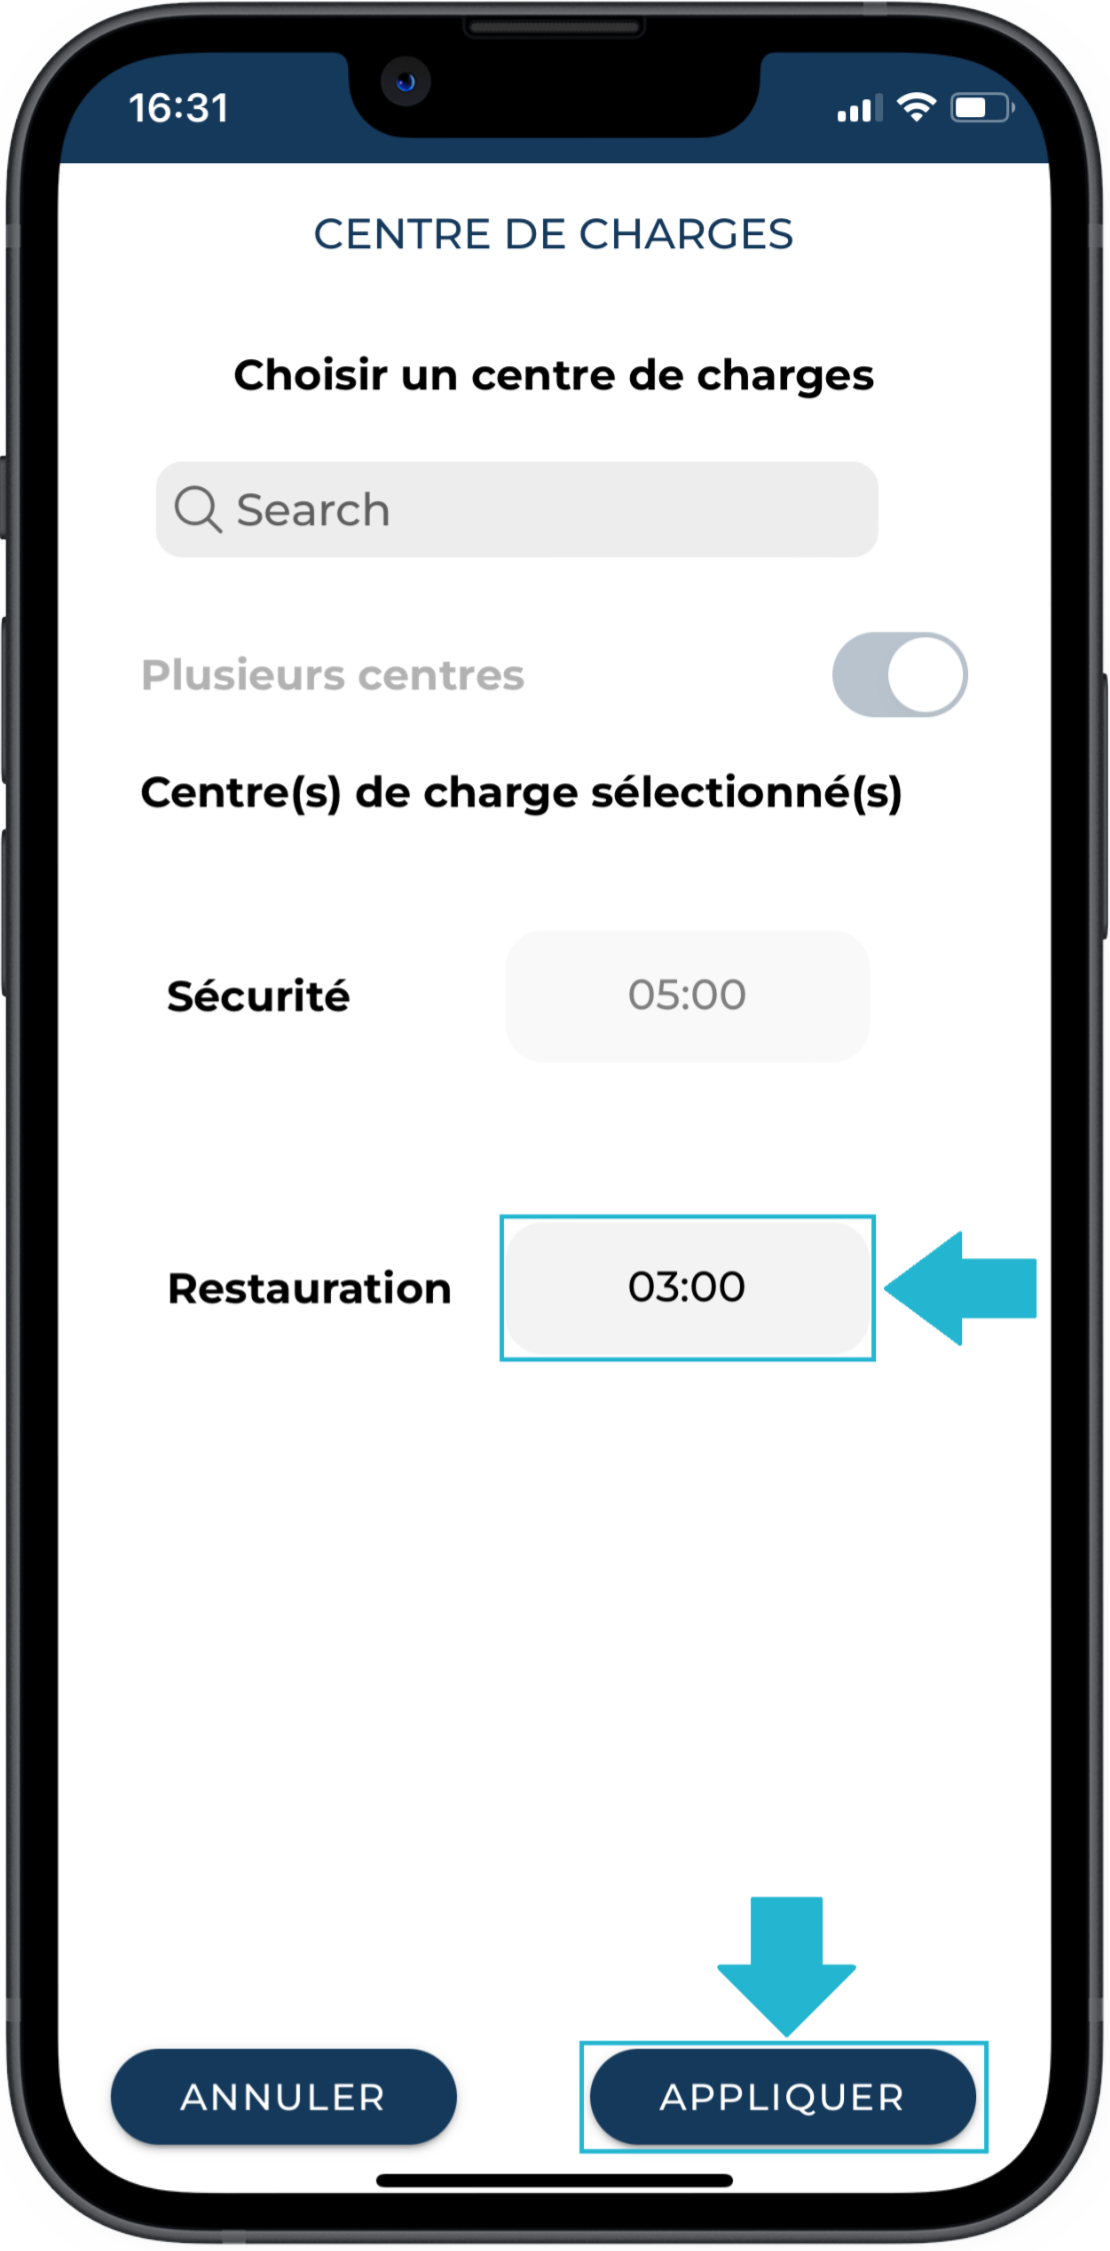
- In the center selection field, type at least the first 3 characters of your cost center name so that MiQuado can display a list of options. Select the desired cost center and click APPLY,
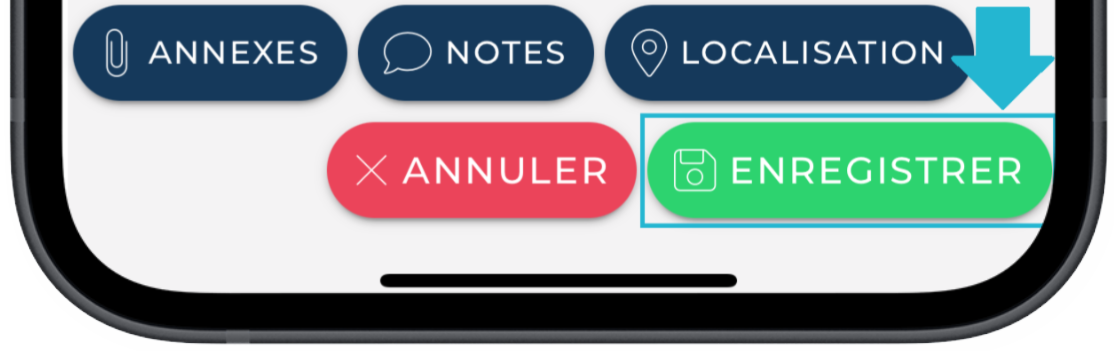
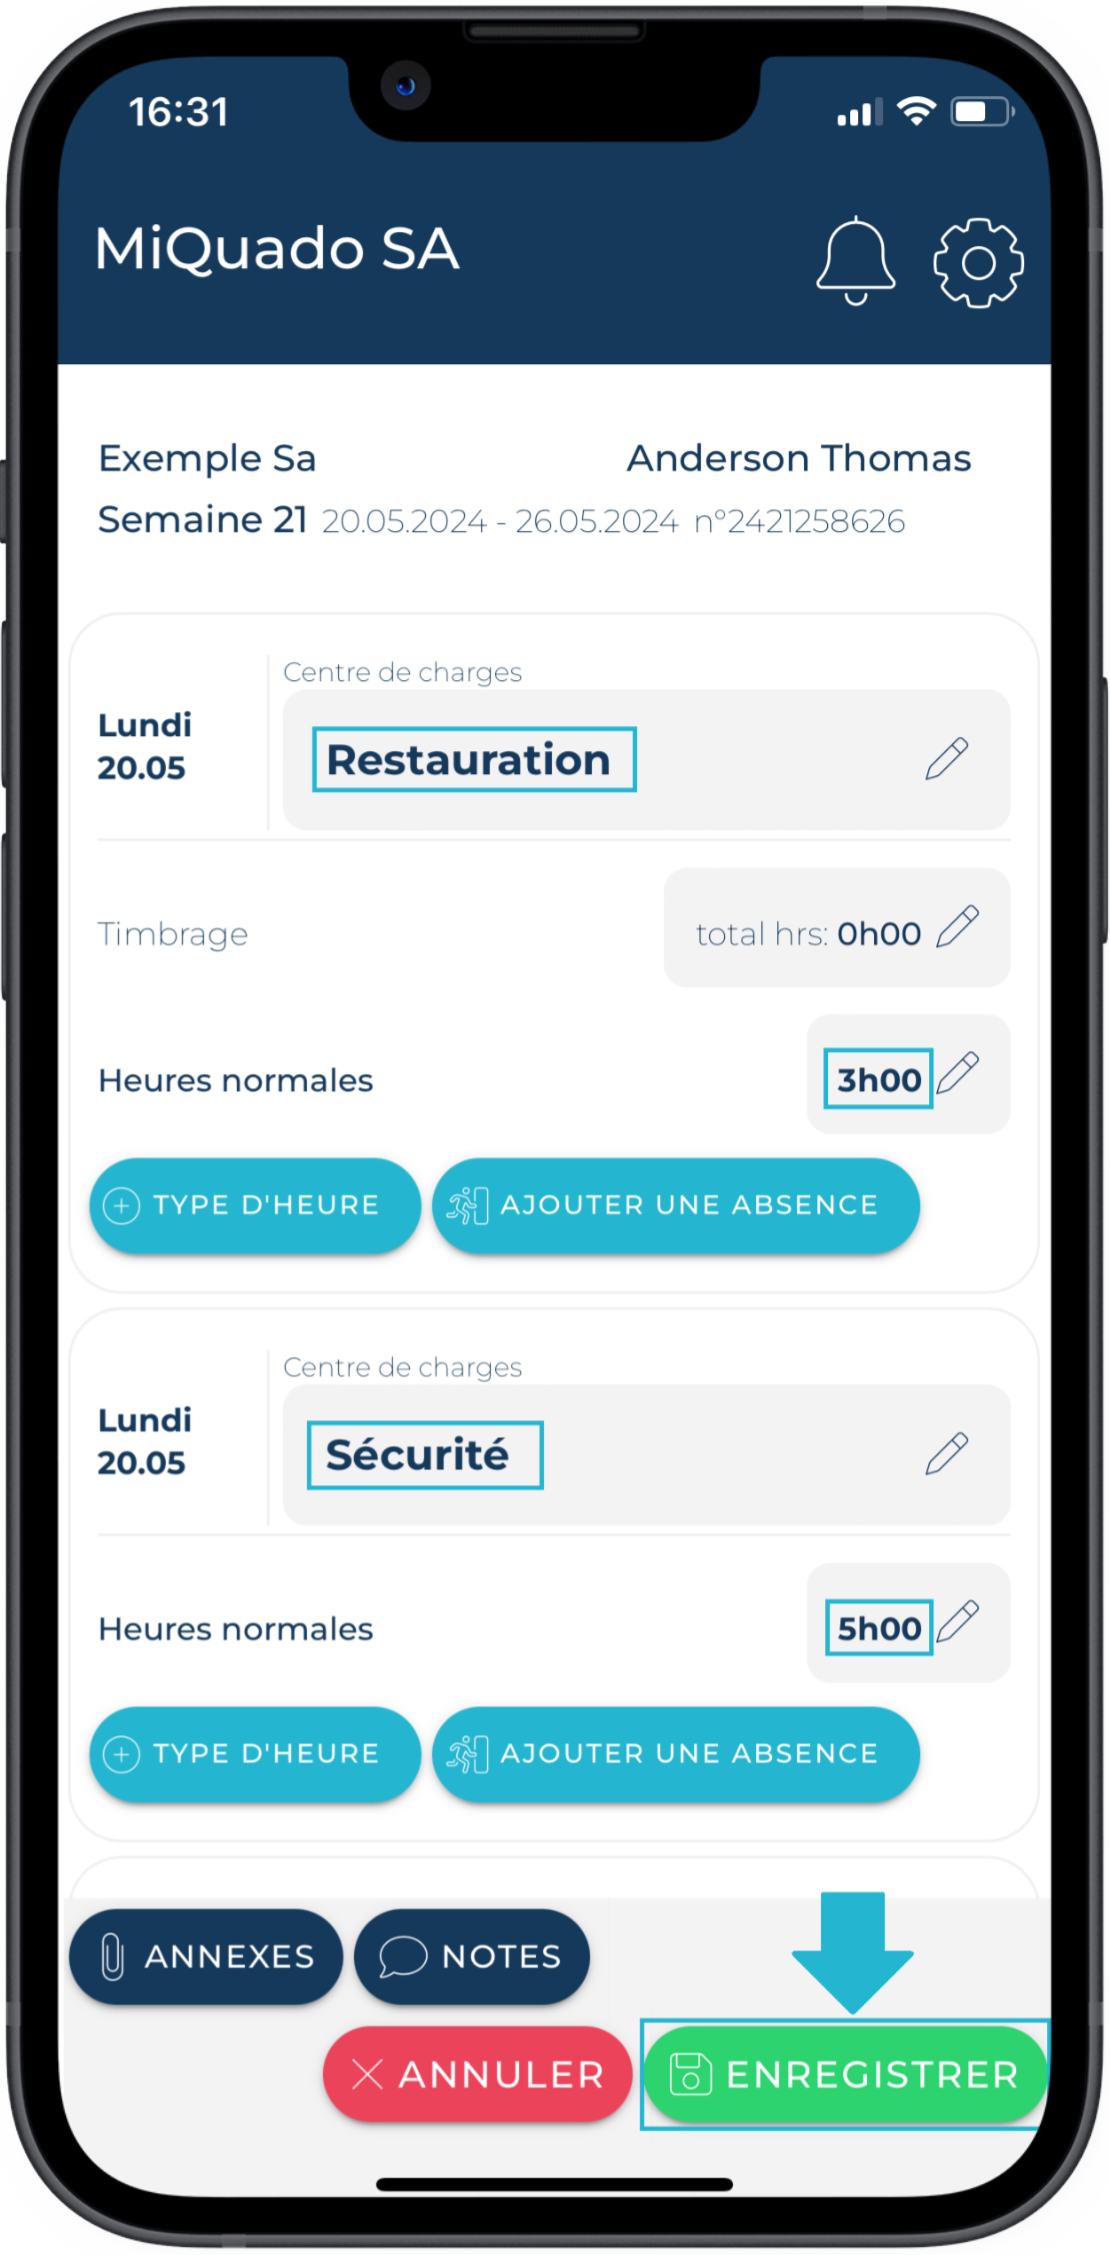
- You will see that this cost center is now assigned to all days in the weekly report. Save your report using the SAVE button,
- You will now also see the cost center in the report summary.
Any new clock-ins or hour entries for this report will now be linked to that cost center.
If you need to remove the cost center:
In the center selection page, click the Multiple centers toggle, then delete the center using the MINUS button and confirm with APPLY then SAVE.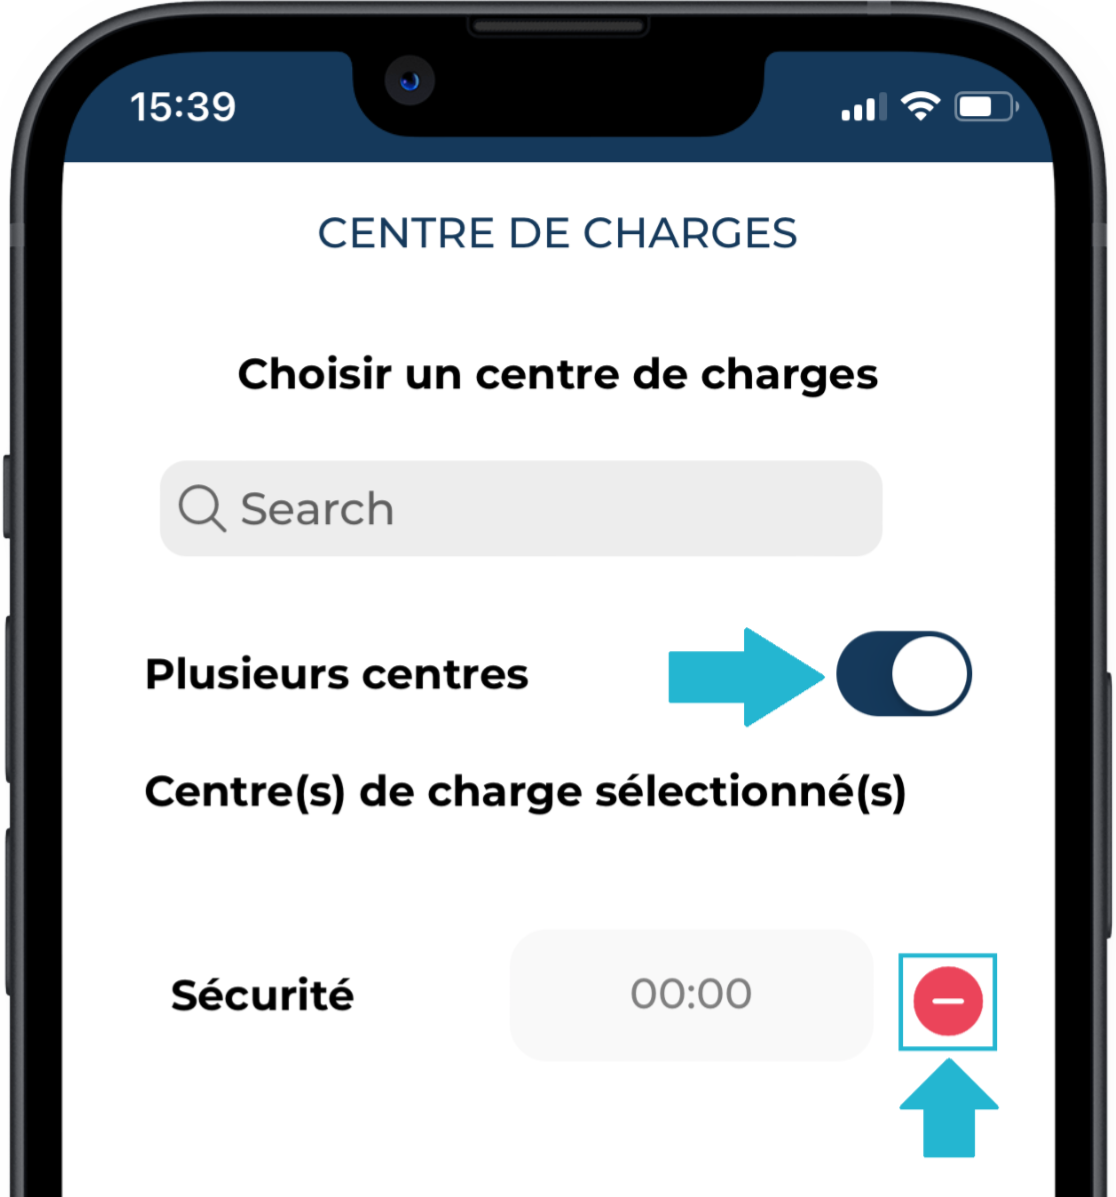
Case 3 – Multiple cost centers
In this case, you must manually assign multiple cost centers in your weekly report and distribute the worked hours accordingly.
By default, MiQuado assigns all clock-ins and hour entries to the first cost center.
To do this:
- Go to the Reports page and open the report details using the ARROW button,
- In the Cost Center field for the relevant day, click the PENCIL,
- Type at least the first 3 characters of your first cost center name. Select the center from the list,
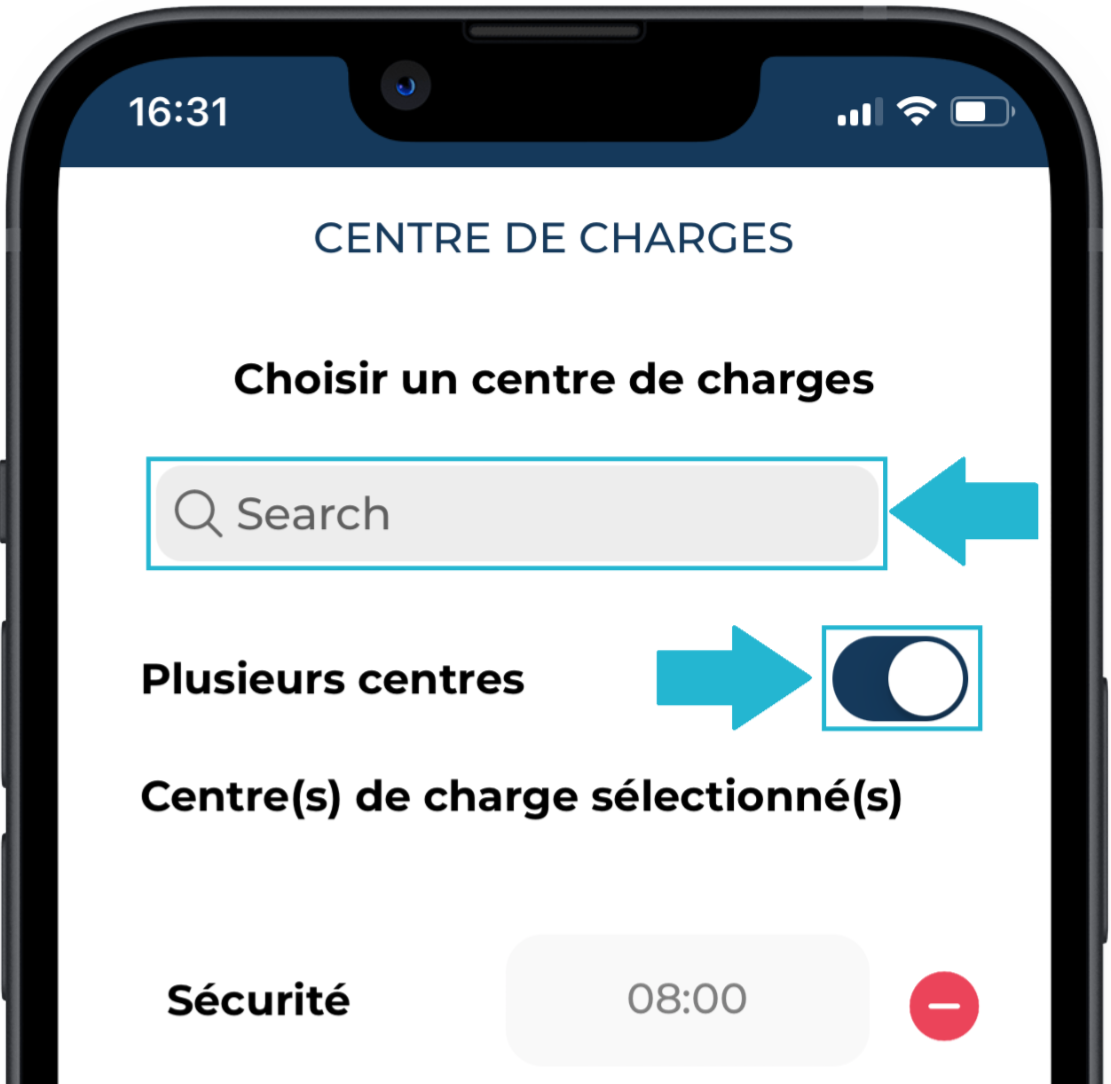
- Click the Multiple centers toggle and type the first 3 characters of your second cost center. Select it. Repeat this step for all needed cost centers,
- By default, all hours are assigned to the first cost center. Adjust the hours across the centers as needed, then click APPLY.
- Review the hour distribution across days and centers in your report and click SAVE.
To remove cost centers:
In the center selection page, click the Multiple centers toggle, delete the center using the MINUS button, and confirm with APPLY then SAVE.